1. Configure Your Profile & Workspace
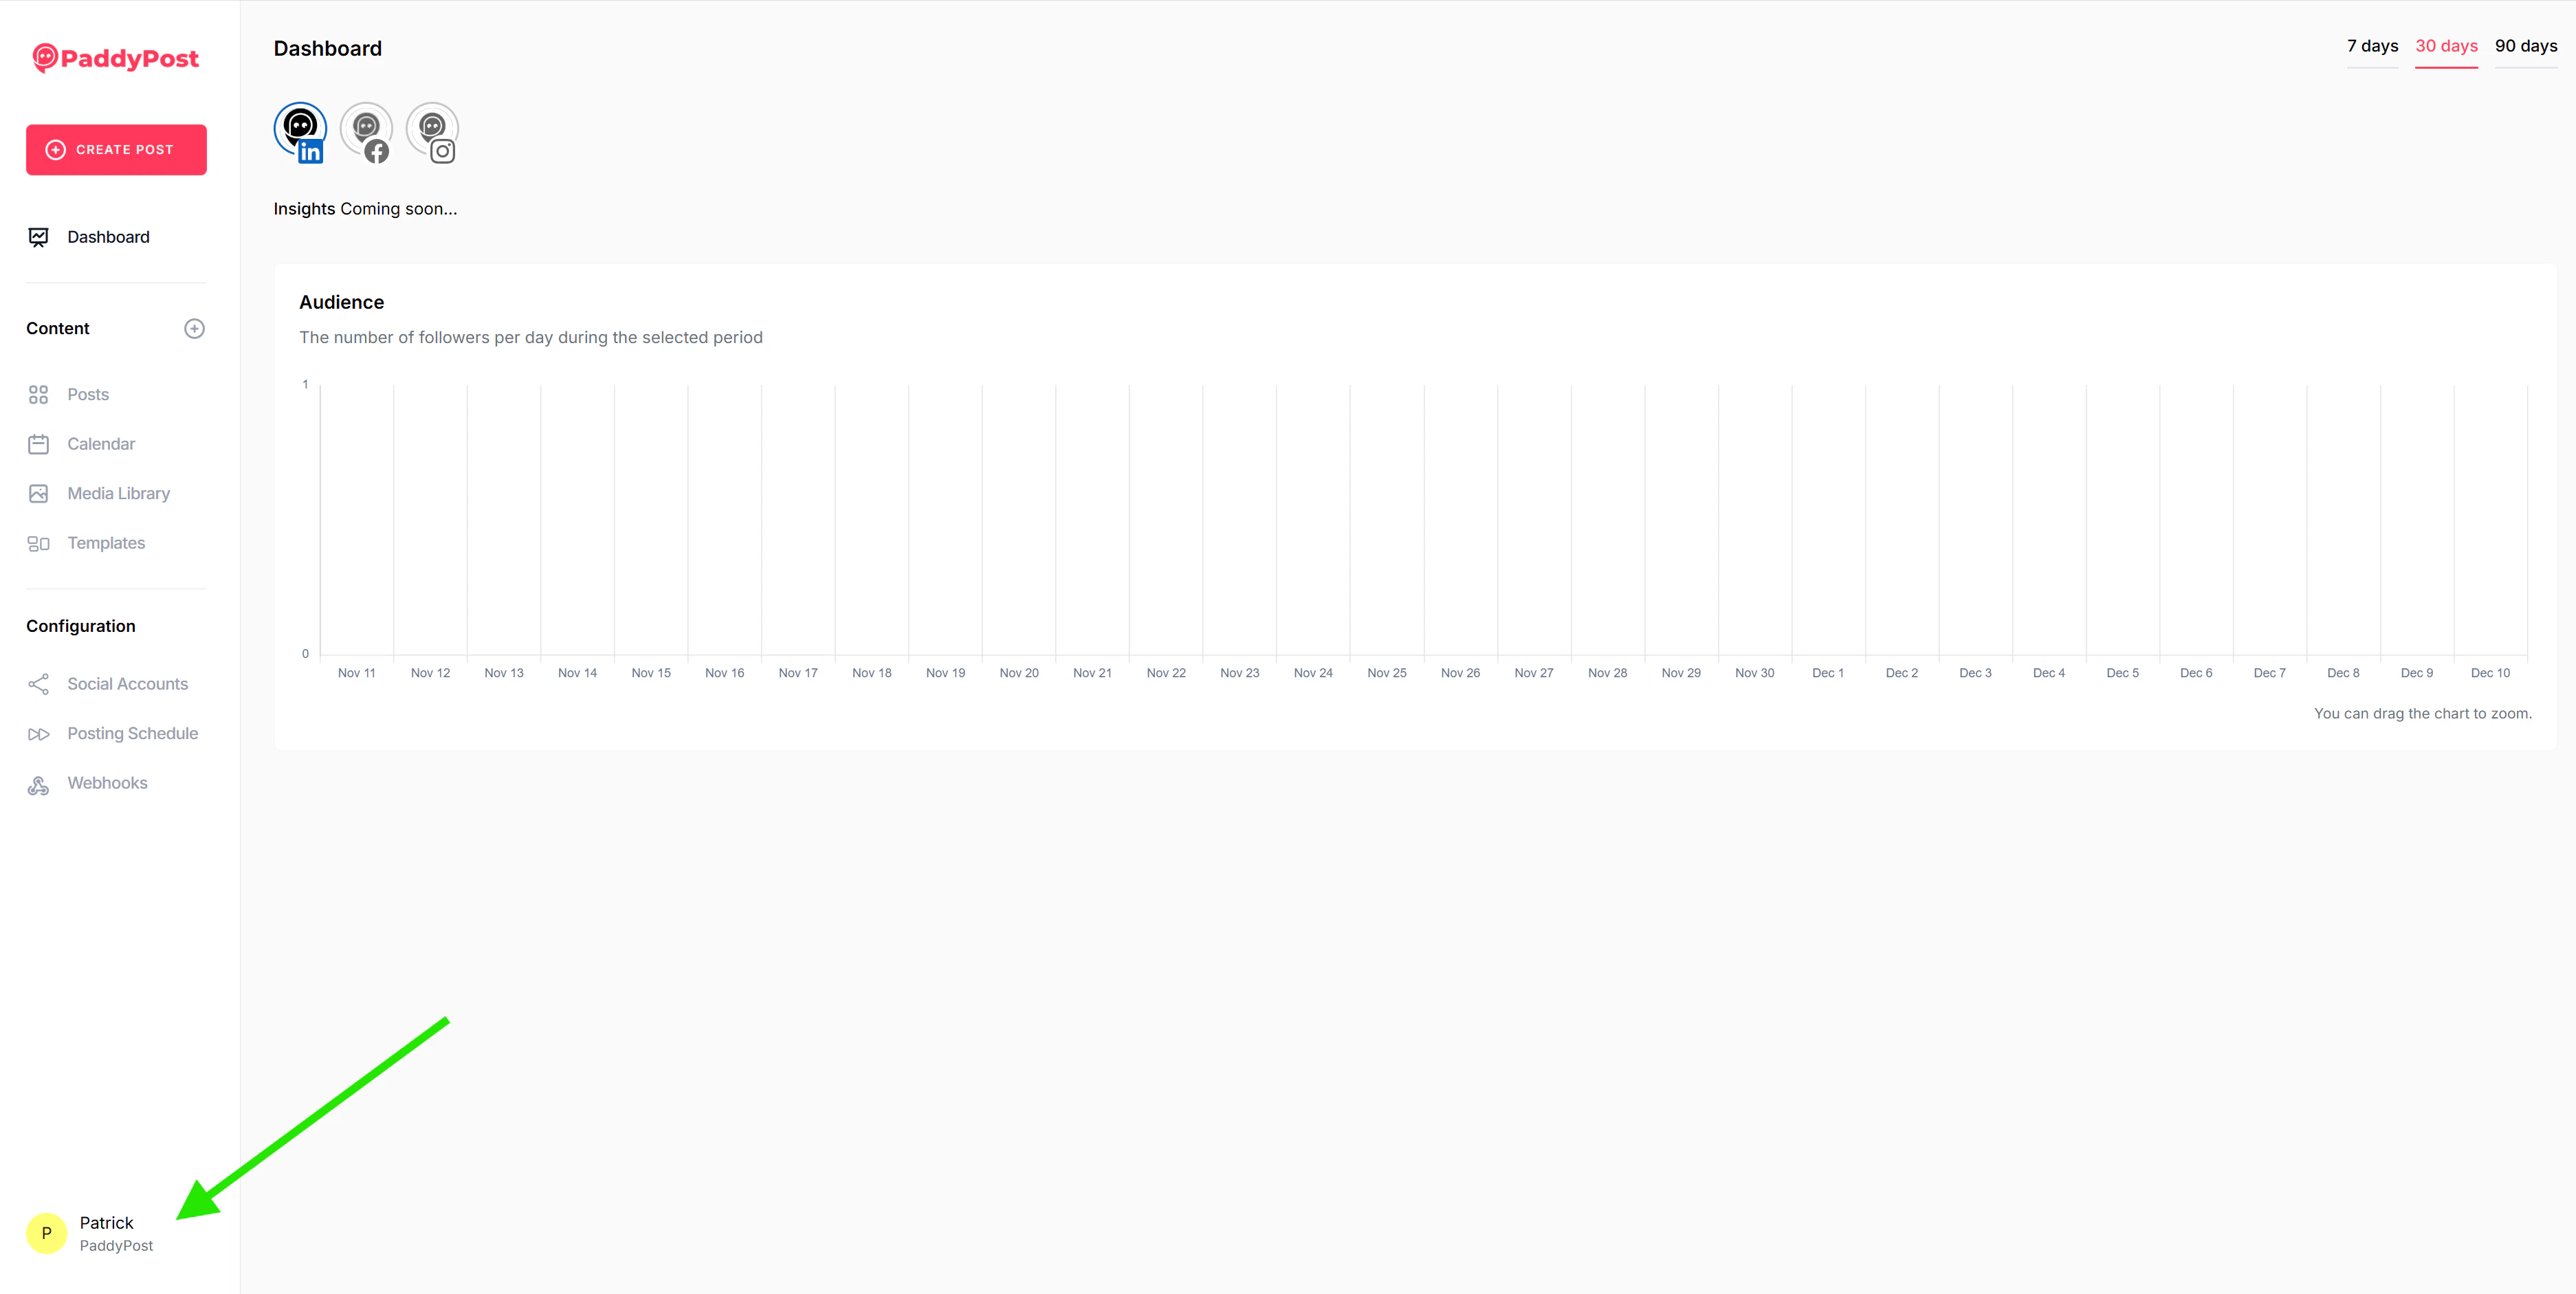
When you log in, a Workspace is already active. This is where you organize your social accounts, media, and team members.Edit Profile Settings
- Click on your User Avatar in the bottom left corner of the sidebar.
- Select Edit Profile.
- From here, you can:
- Update your Profile Information (Name, Email).
- Set your Preferences (Language, Timezone).
- Change your Password.
- Enable Two-Factor Authentication.
Edit Workspace Settings
- Click on your User Avatar in the bottom left corner.
- Select Settings (if available) to access workspace configuration options.
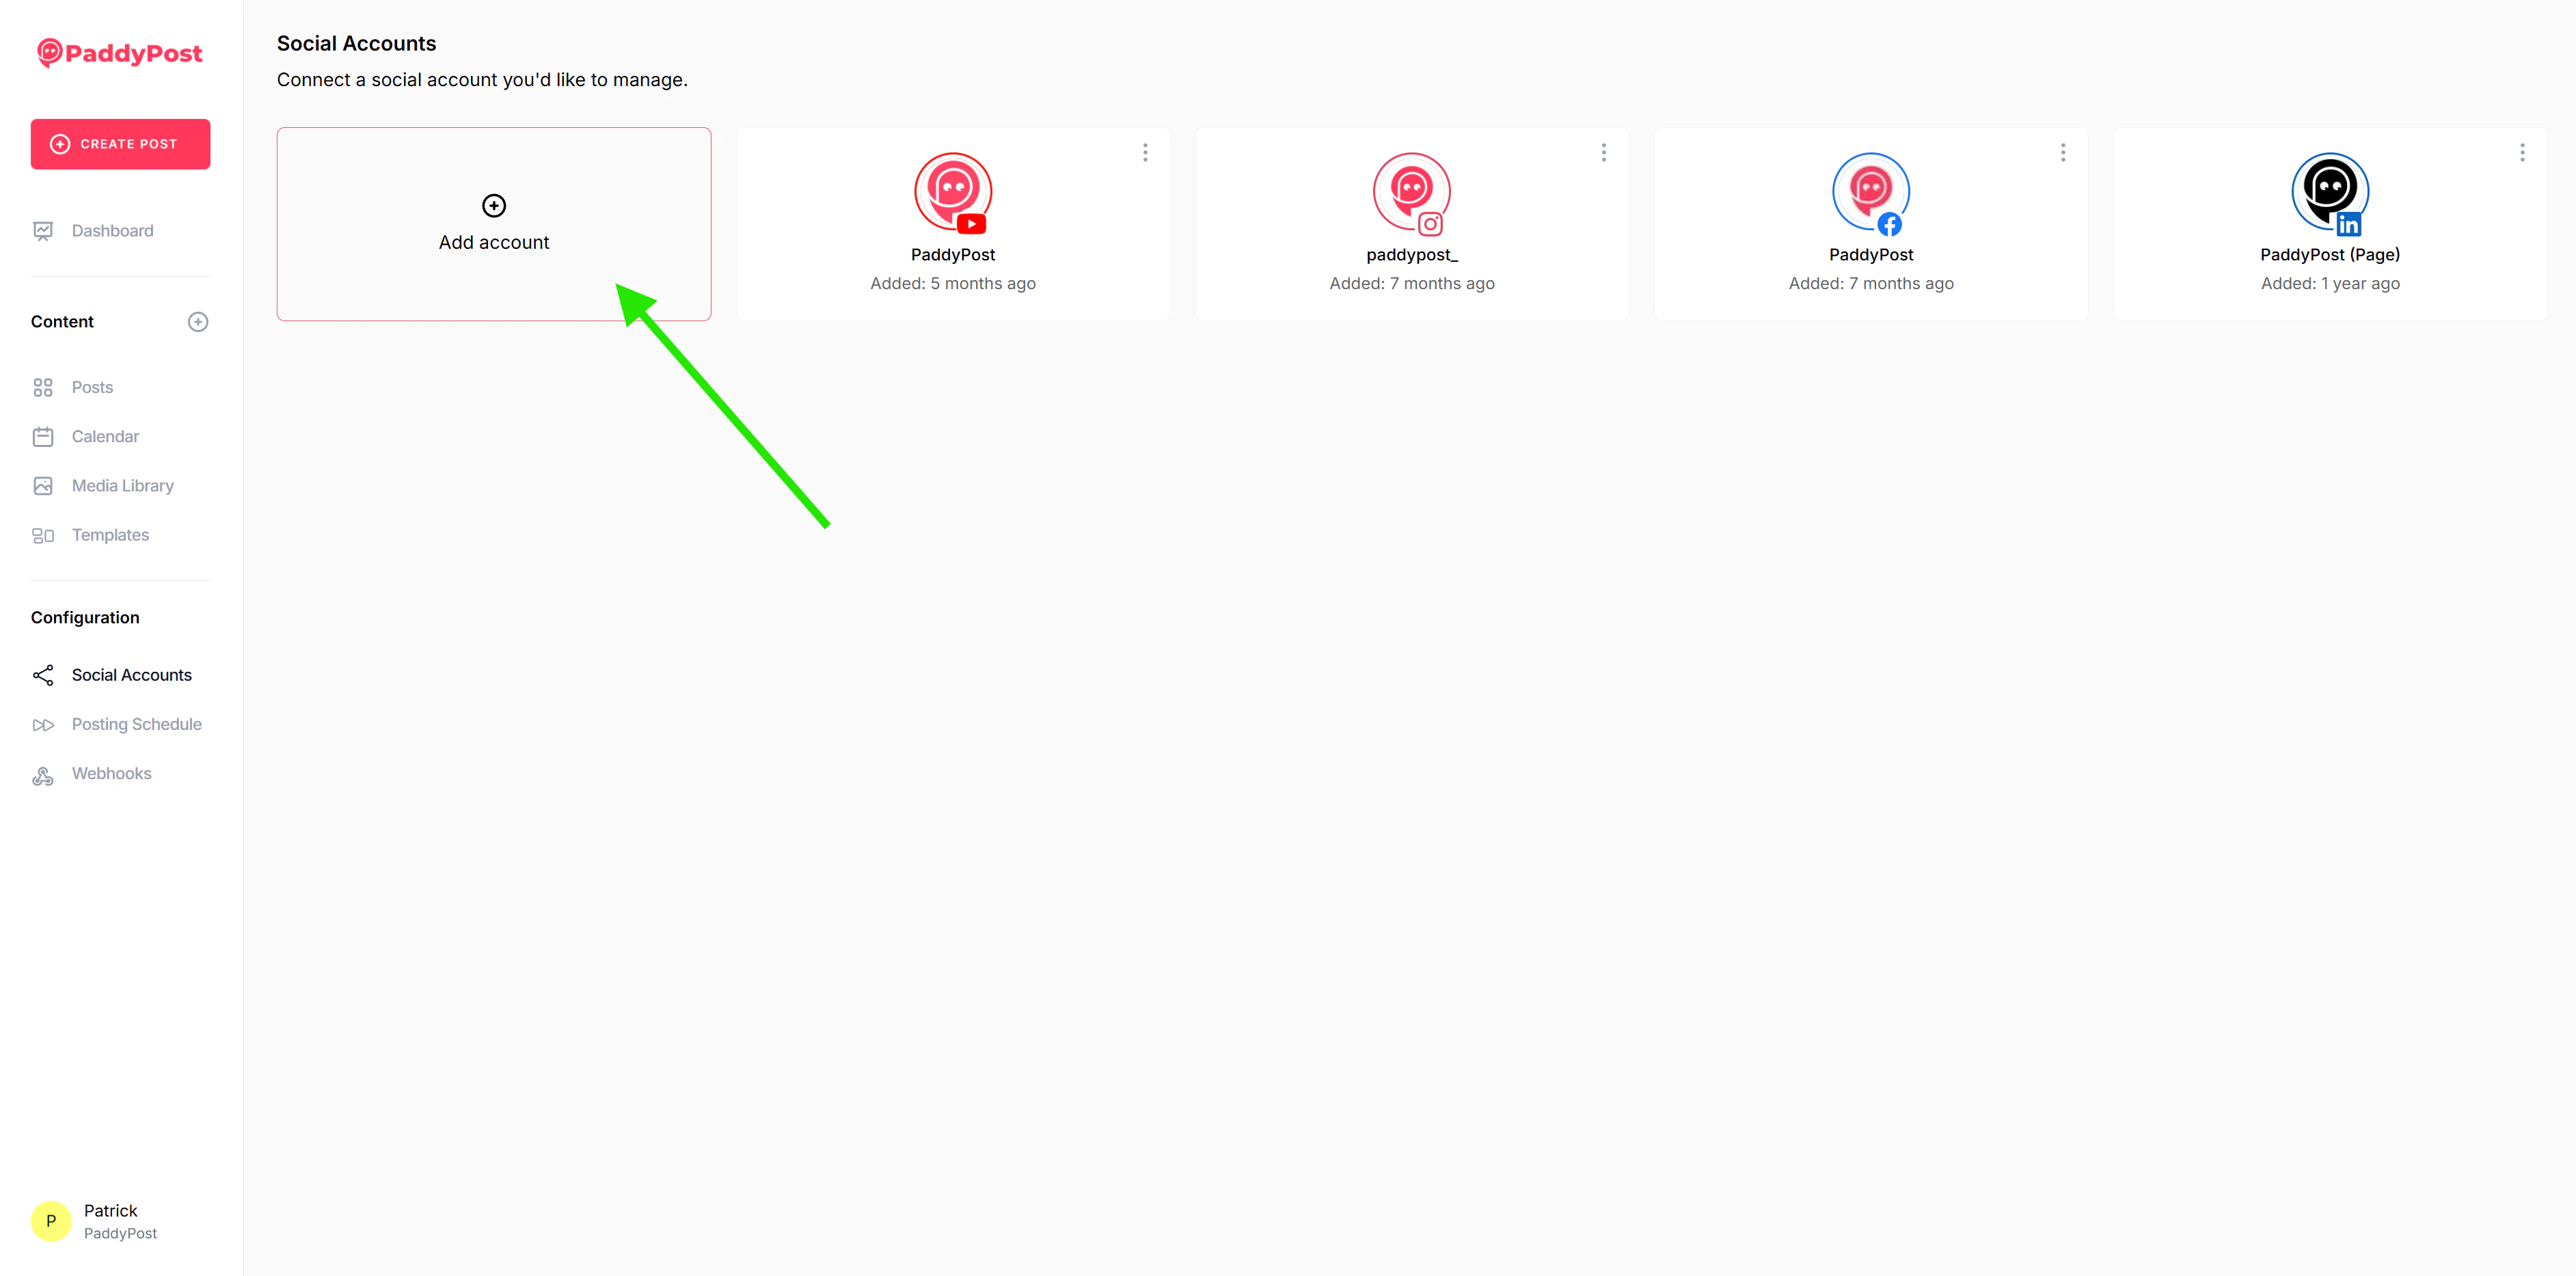
2. Connect Social Accounts
Before you can post, you need to connect your social media profiles.- Navigate to Accounts in the sidebar.
- Click Add Account.
- Select the social network you want to connect.
- Follow the authorization prompts to grant PaddyPost permission.
Tip: You can connect multiple accounts to a single workspace.For detailed instructions on connecting specific platforms, see our dedicated guides:
X (Twitter)
TikTok
YouTube
Mastodon
Bluesky
Threads
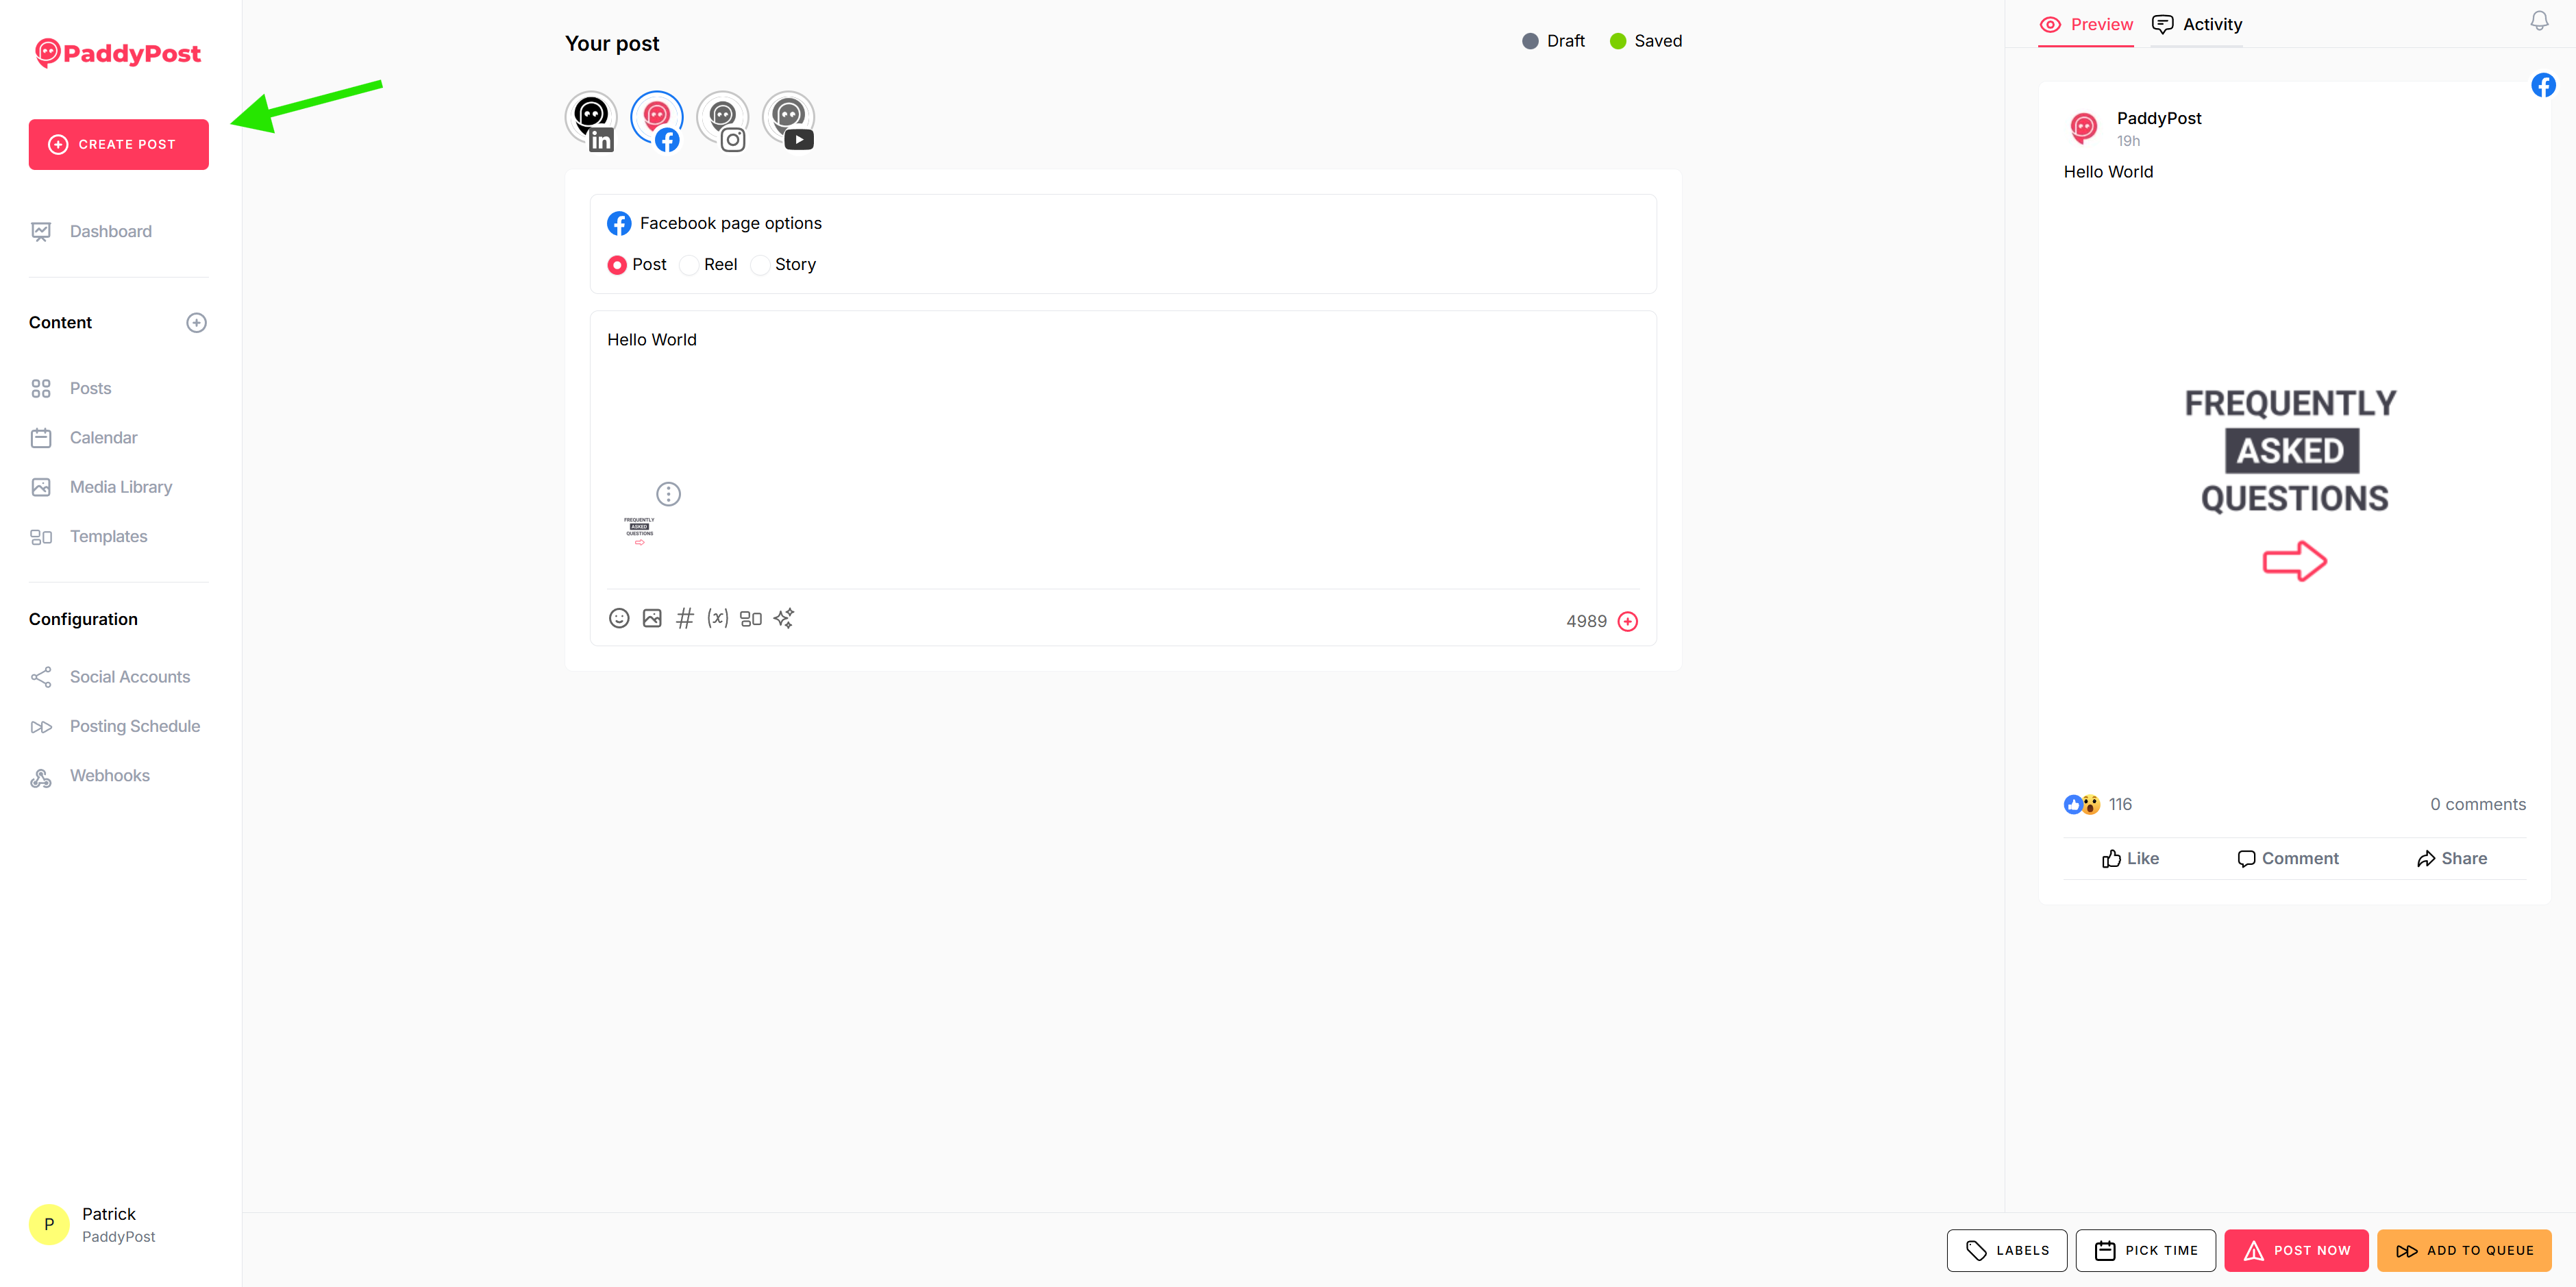
3. Create Your First Post
Now that you’re connected, let’s create some content.- Click Create Post in the sidebar.
- Select Accounts: Choose which social accounts this post should go to.
- Write Content: Type your message in the text editor. You can use hashtags and emojis!
- Add Media: Click the image/video icon to upload media or choose from your library.
- Preview: Check the preview pane on the right to see how your post will look on each platform.
4. Schedule or Publish
Once you’re happy with your post, you have a few options:- Publish Now: Send the post immediately.
- Schedule: Pick a specific date and time for the post to go live.
- Add to Queue: Add the post to your automated posting schedule.