Step 1: Create a New Post
- Log in to your PaddyPost account.
- Click "Create Post" from the dashboard.
- Select the social media accounts where you want to publish your post.
Step 2: Add Post Content
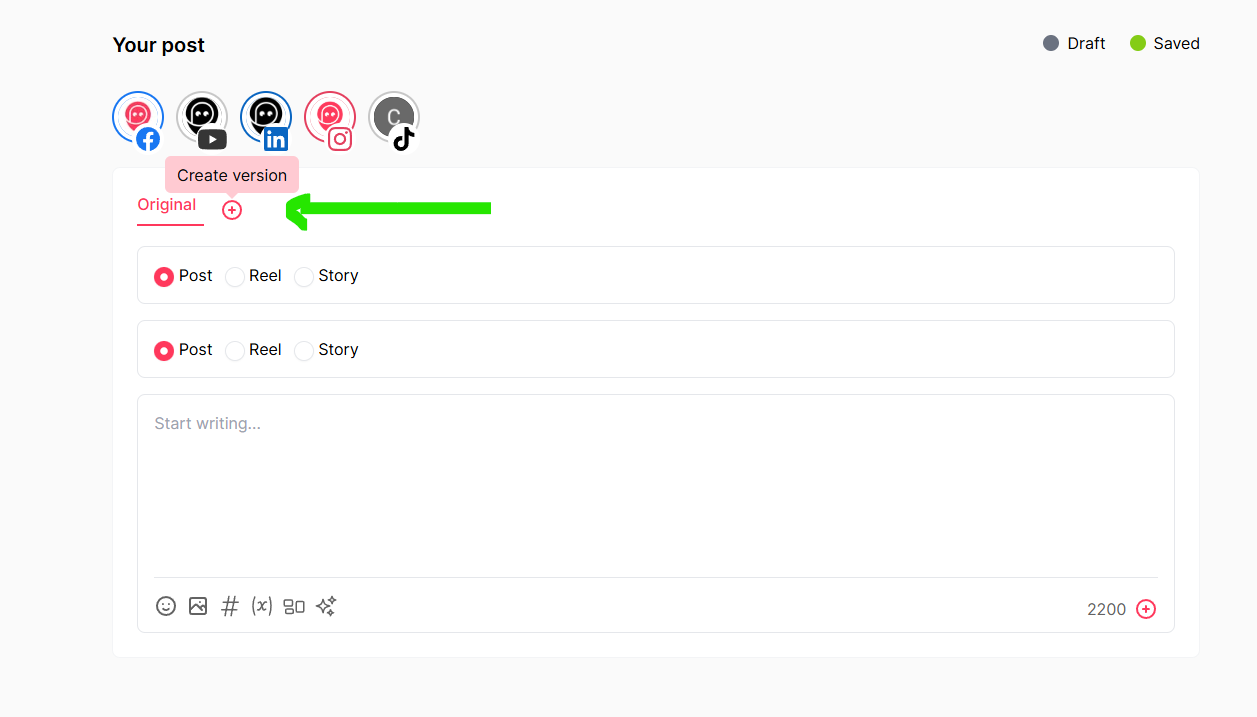
- In the post editor, start by writing your original post.
- Choose the type of content you’re creating (Post, Reel, or Story) for each platform.
Step 3: Create a Platform-Specific Version
- Click the ➕ (plus) icon next to the “Original” label.
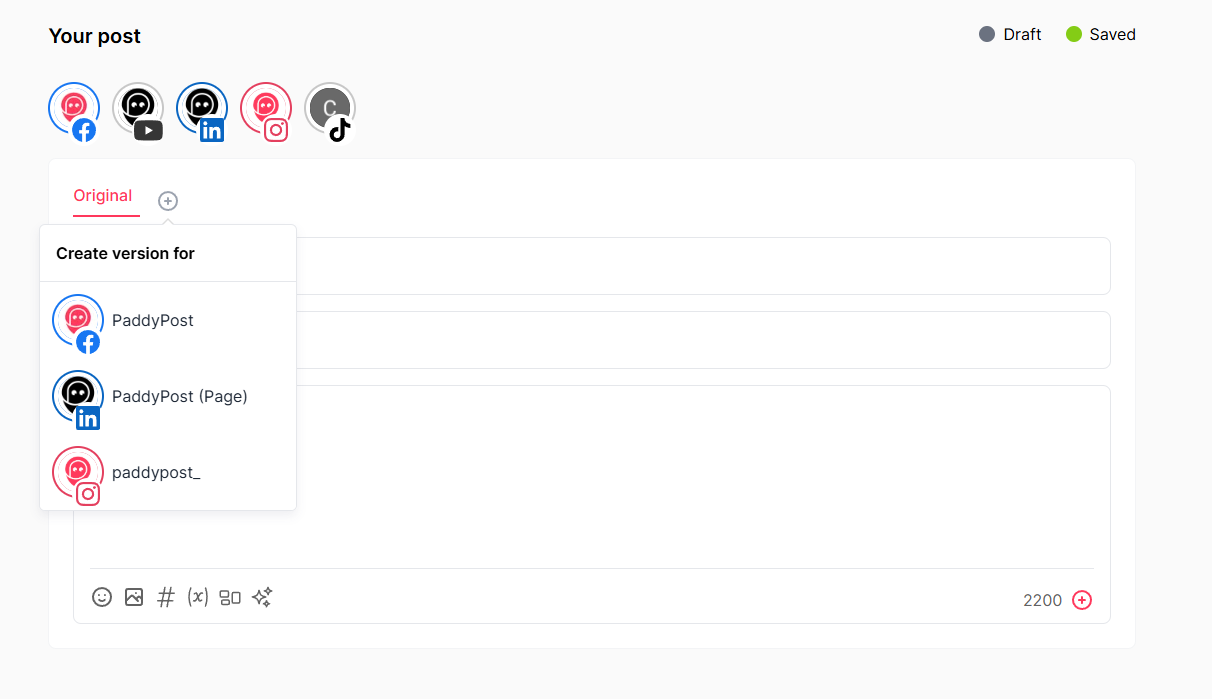
- A dropdown menu will appear, showing all connected platforms.
- Select the platform for which you want to create a custom version.


Step 4: Customize Your Post for Each Platform
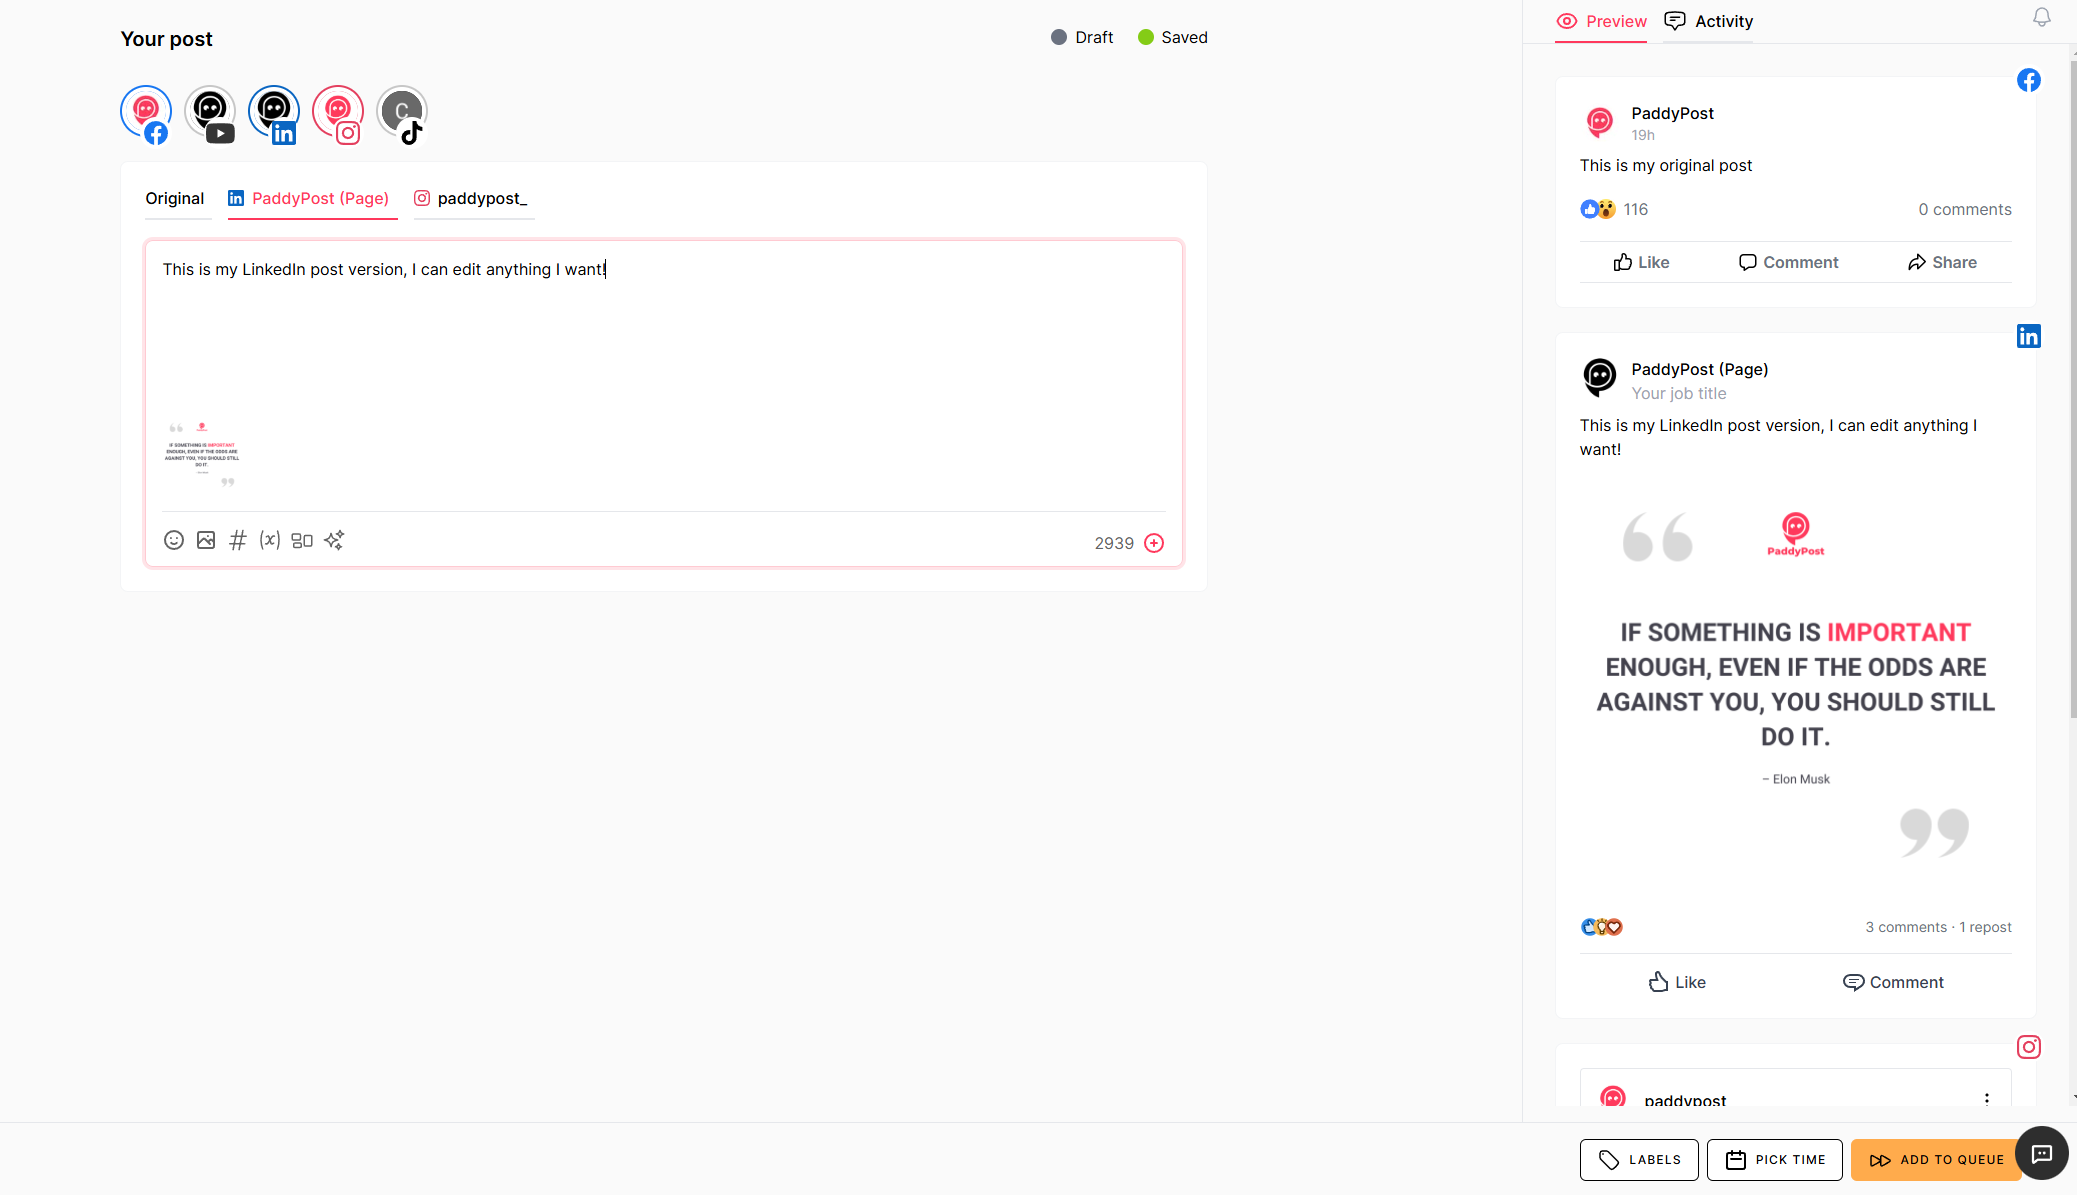
- Once a platform is selected, a new post version tab will appear.
- Modify the text, hashtags, media, or formatting to optimize it for the selected platform.
- Repeat this process for each platform where you want a custom version.

Step 5: Preview and Schedule
- Click the Preview tab on the right to see how each version will appear on different platforms.
- If satisfied, click Add to Queue or Schedule the post for a later time.
Why Use Post Versions?
✅ Optimize for Each Platform – Adjust text length, formatting, and media for different social networks.
✅ Boost Engagement – Use the right hashtags, mentions, and content style for each audience.
✅ Save Time – Avoid rewriting posts from scratch by quickly duplicating and modifying them.
With post versions, you can fine-tune your content strategy and enhance engagement across all your social media platforms. 🎯🚀
If you have any questions, feel free to reach out to PaddyPost Support!