Managing your social media content efficiently is key to maintaining an active online presence. This guide walks you through the step-by-step process of creating, customizing, and scheduling posts using PaddyPost.
Step 1: Connect Your Social Accounts
Before you can start posting, ensure your social media accounts are connected to PaddyPost.
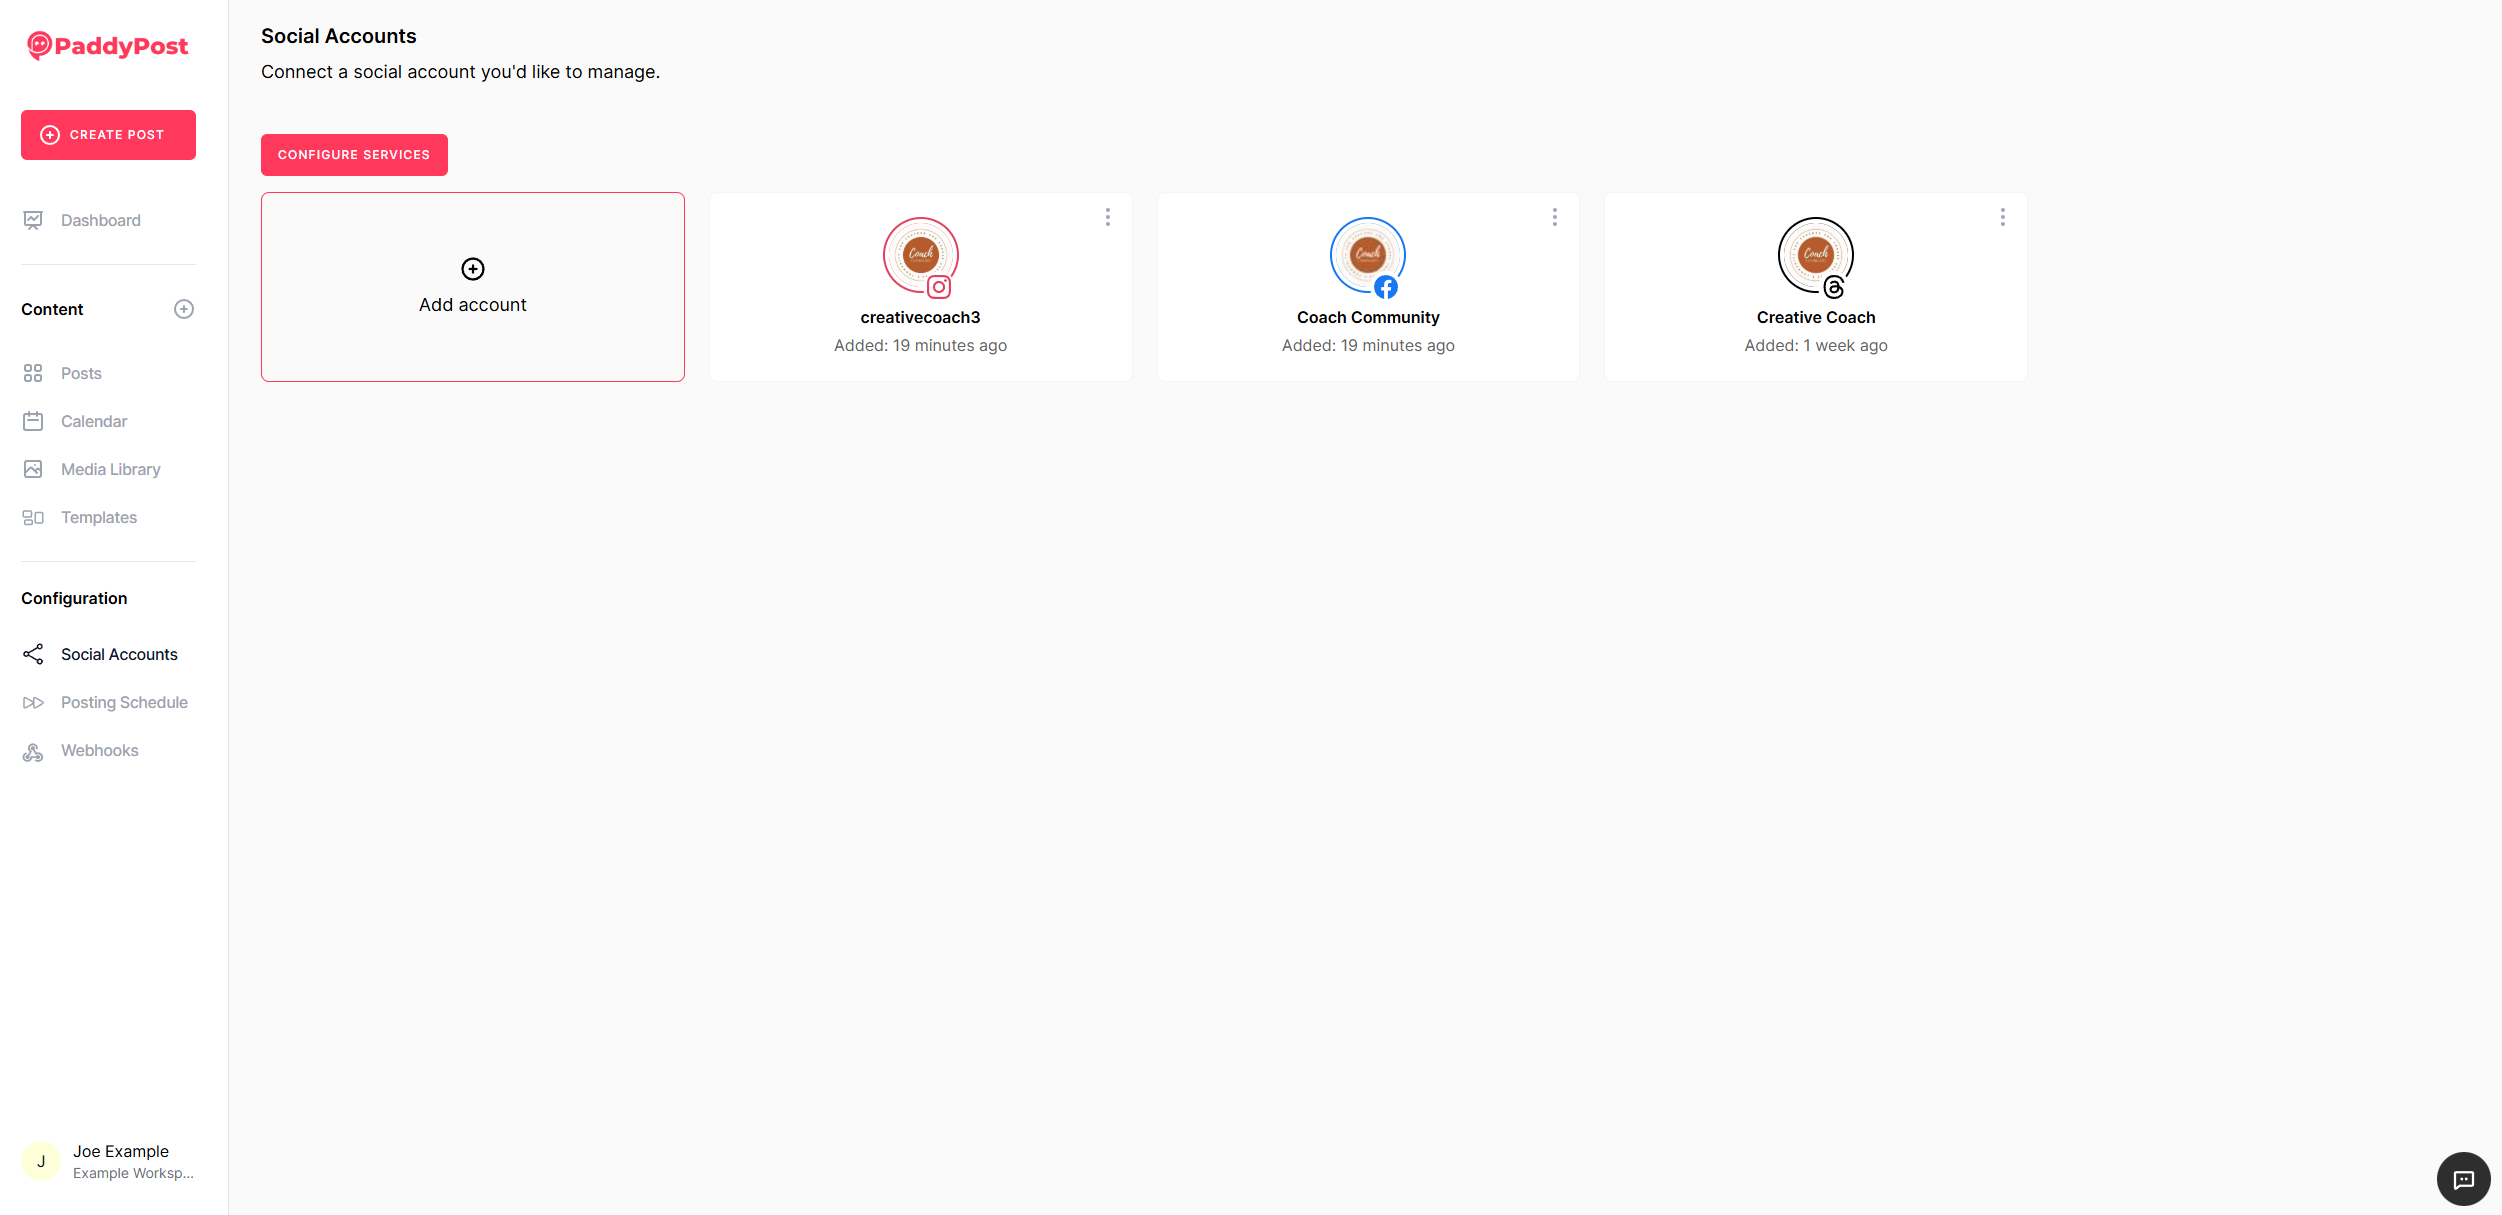
- Click Social Accounts in the left-hand menu.
- If you haven't added your accounts yet, click Add Account.
- Follow the on-screen instructions to connect each platform. Click here to find guides for each platform.
✅ Tip: PaddyPost supports multiple platforms, allowing you to manage all your accounts from one place.
Step 2: Access the Post Creation Interface
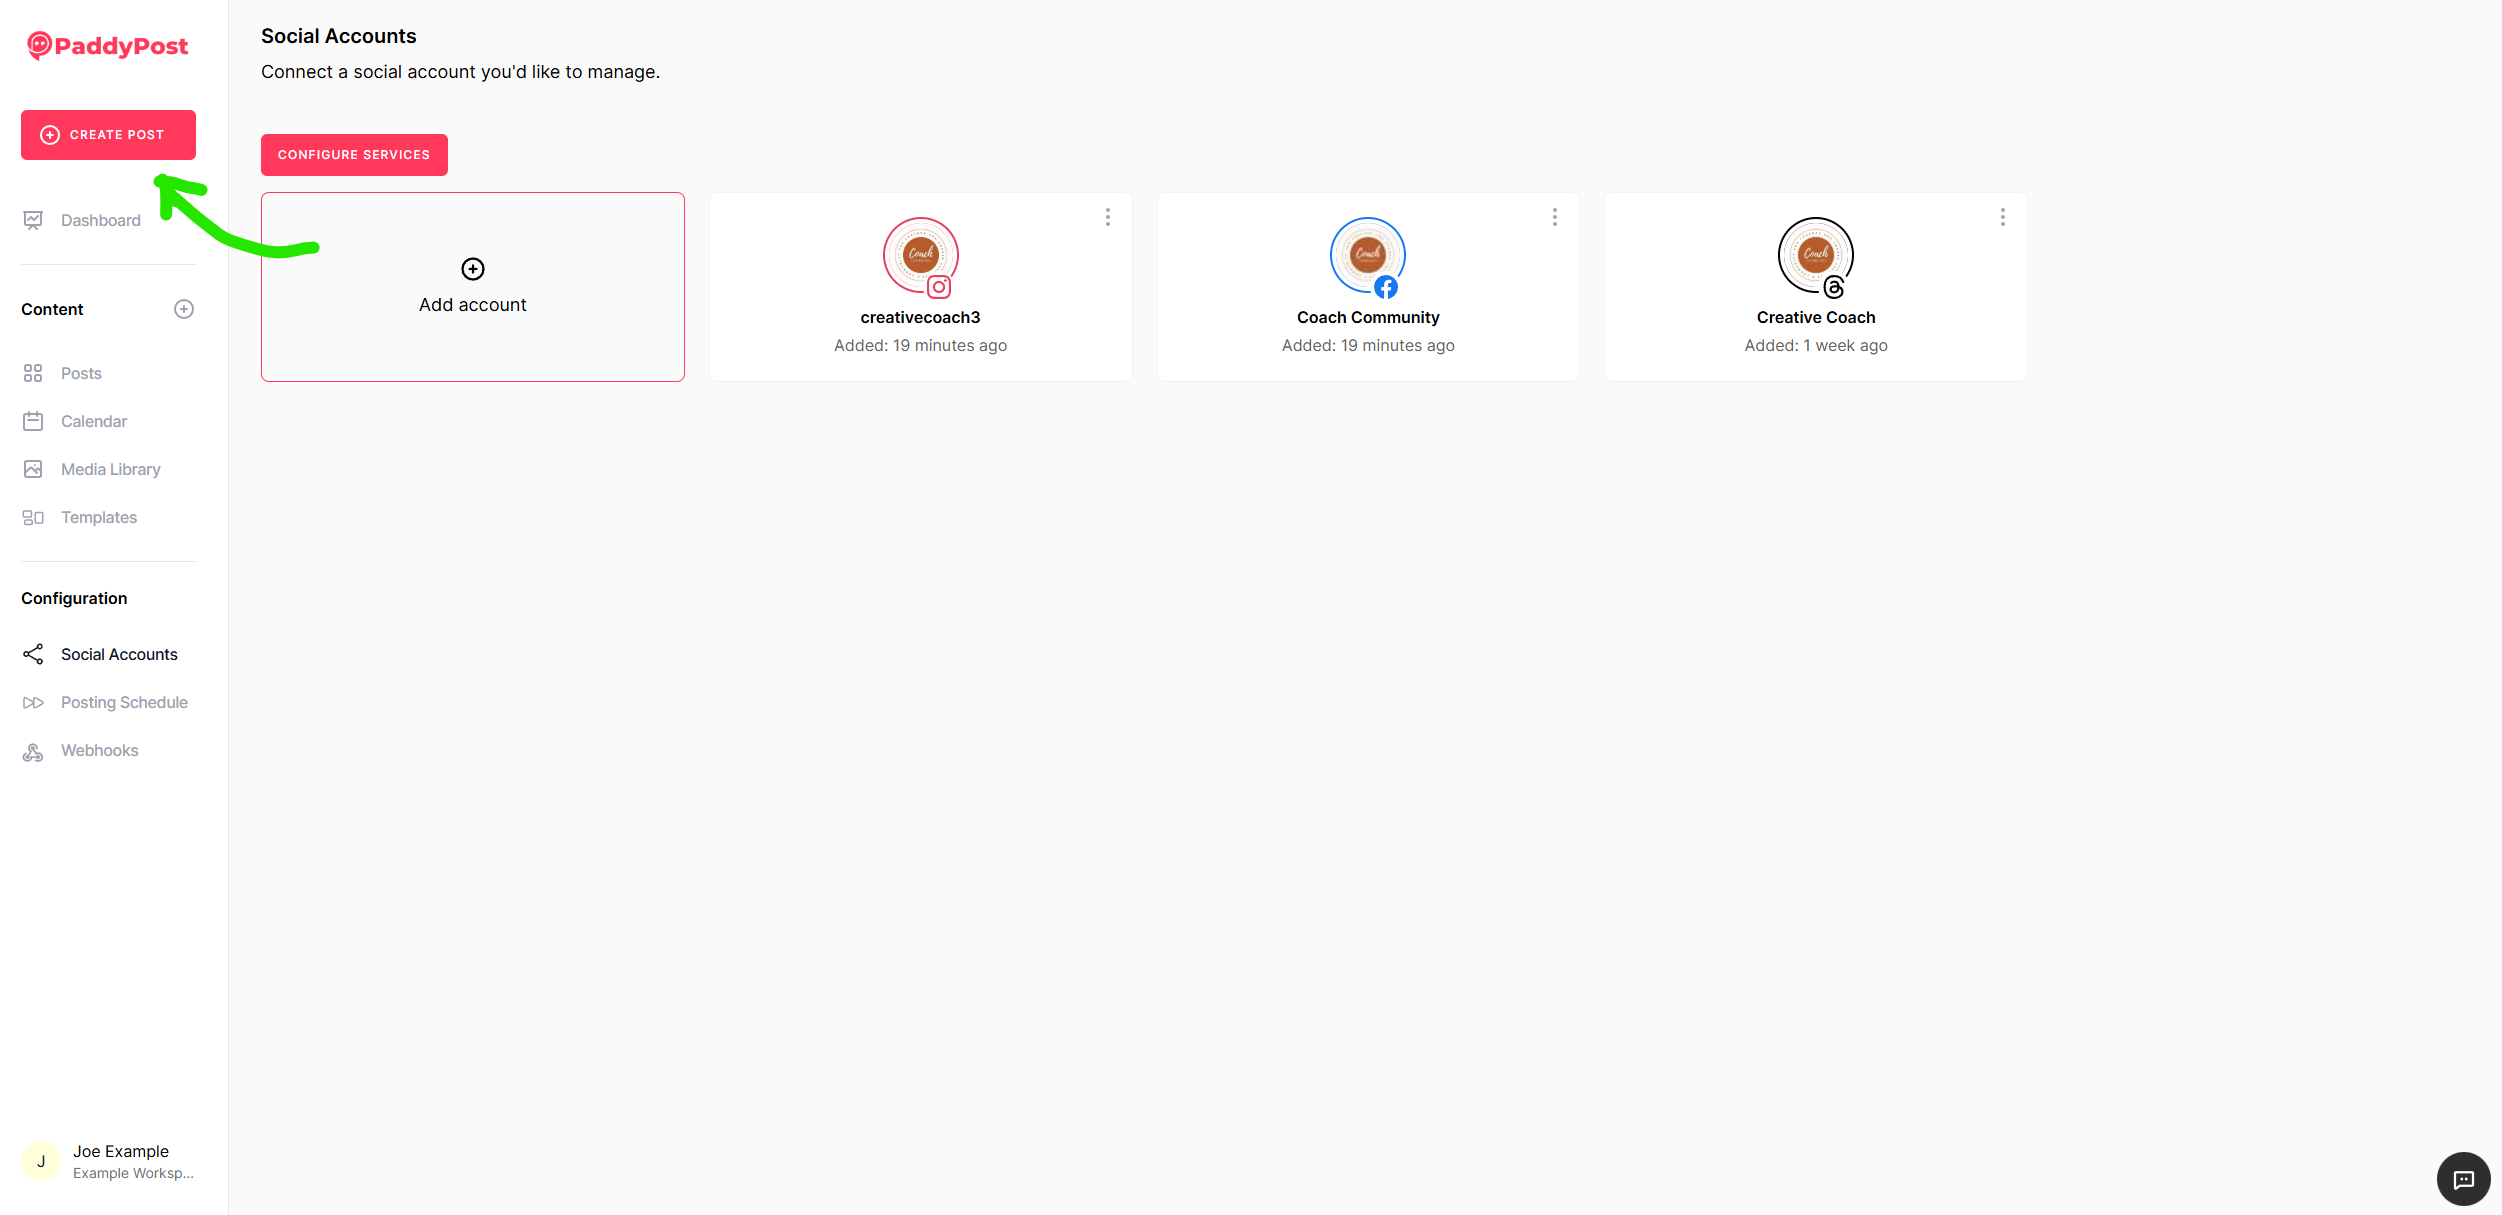
Click the Create Post button in the top-left corner of the screen.
Step 3: Select Your Social Media Accounts
- In the post creation area, you’ll see icons representing your connected social media accounts.
- Select the accounts you want to post to.
- PaddyPost allows multi-platform posting, meaning you can publish the same post across multiple accounts.

Step 4: Create Custom Post Versions (Optional)
For each social media platform, you may want to create different versions of your post to optimize engagement.
- Click the ➕ (plus) icon labeled Create Version below the selected accounts.
- Choose the specific platform for the customized version.
- Modify the text, images, or media as needed.

✅ Why create post versions? Different platforms have unique formatting styles, text limitations, and audience preferences. Tailoring your posts improves engagement.
Step 5: Compose Your Post
- Type your post in the provided text area.
- Different platforms may have certain selection options. For example, for Facebook and Instagram you can select the post type: Post, Reel, or Story.
- Customize the caption and content based on the platform’s requirements.
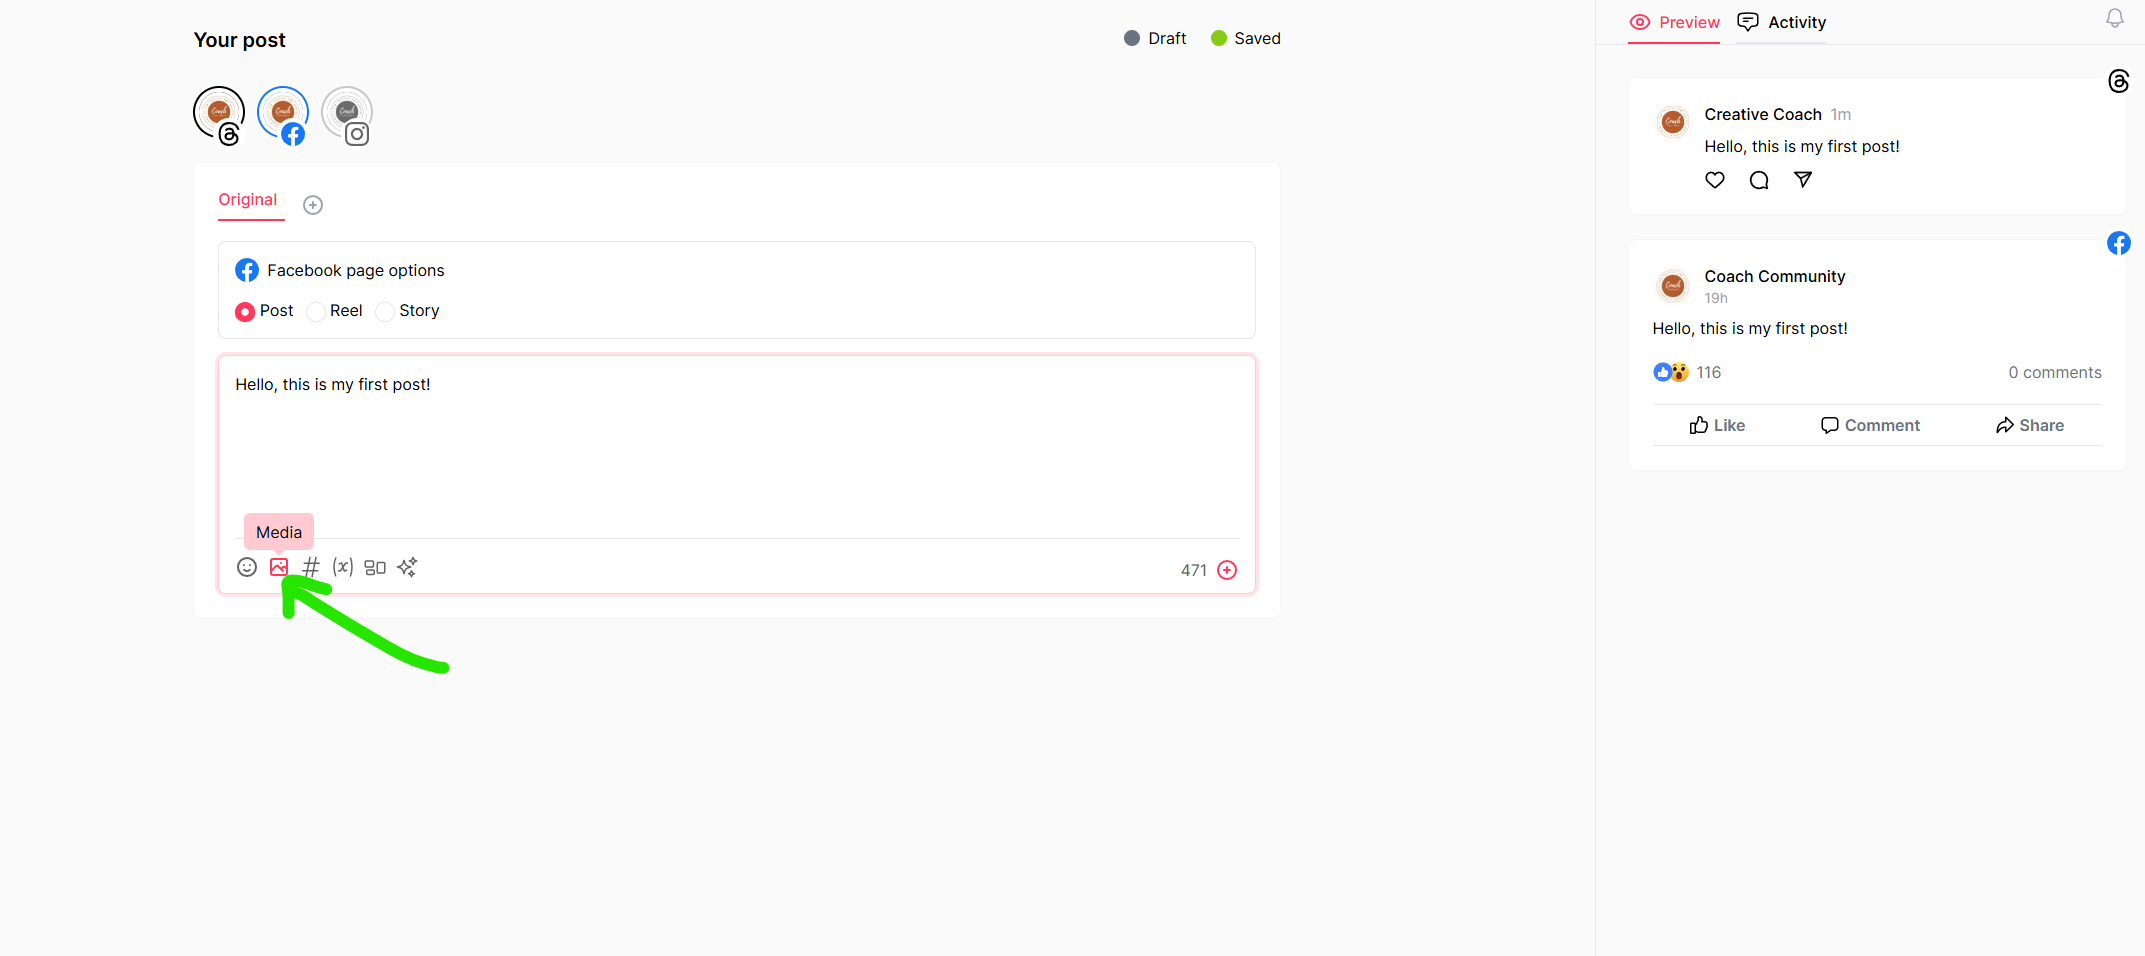
- To add images or video, click on the media icon at the bottom.
Step 6: Enhance Your Post with Additional Features
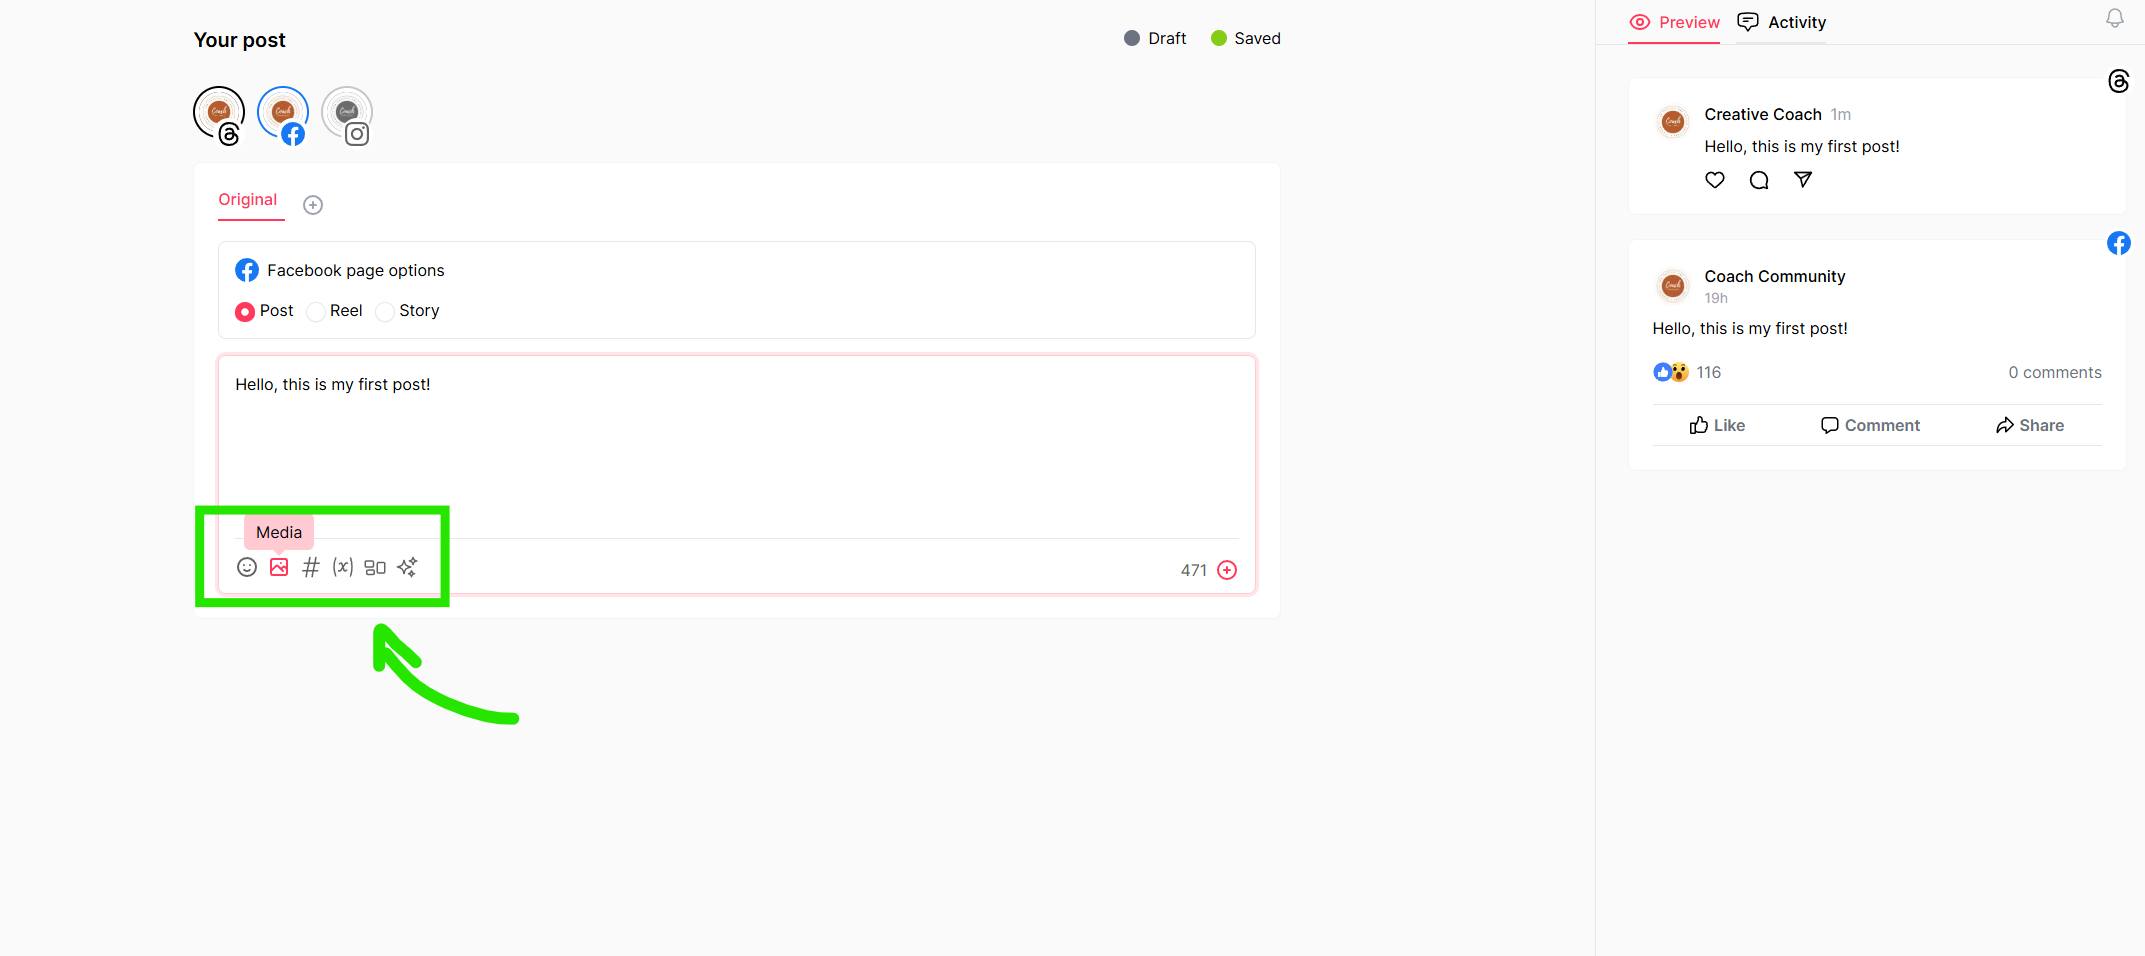
PaddyPost offers multiple tools to make your posts more engaging. You will find these options at the bottom of the text input area.
✅ Emojis – Click the emoji icon to add emojis to your caption.
✅ Media Upload – Click the media icon to upload images or videos. Drag and drop files or browse your device.
✅ Hashtag Manager – Create and apply pre-defined hashtag groups for better reach.
✅ Variables – Use placeholders (e.g., {platform}) to auto-personalize posts based on the platform.
✅ Templates – Save frequently used post formats as templates for future use.
Step 7: Add a First Comment (Optional)
Engage your audience immediately by adding a first comment to your post:
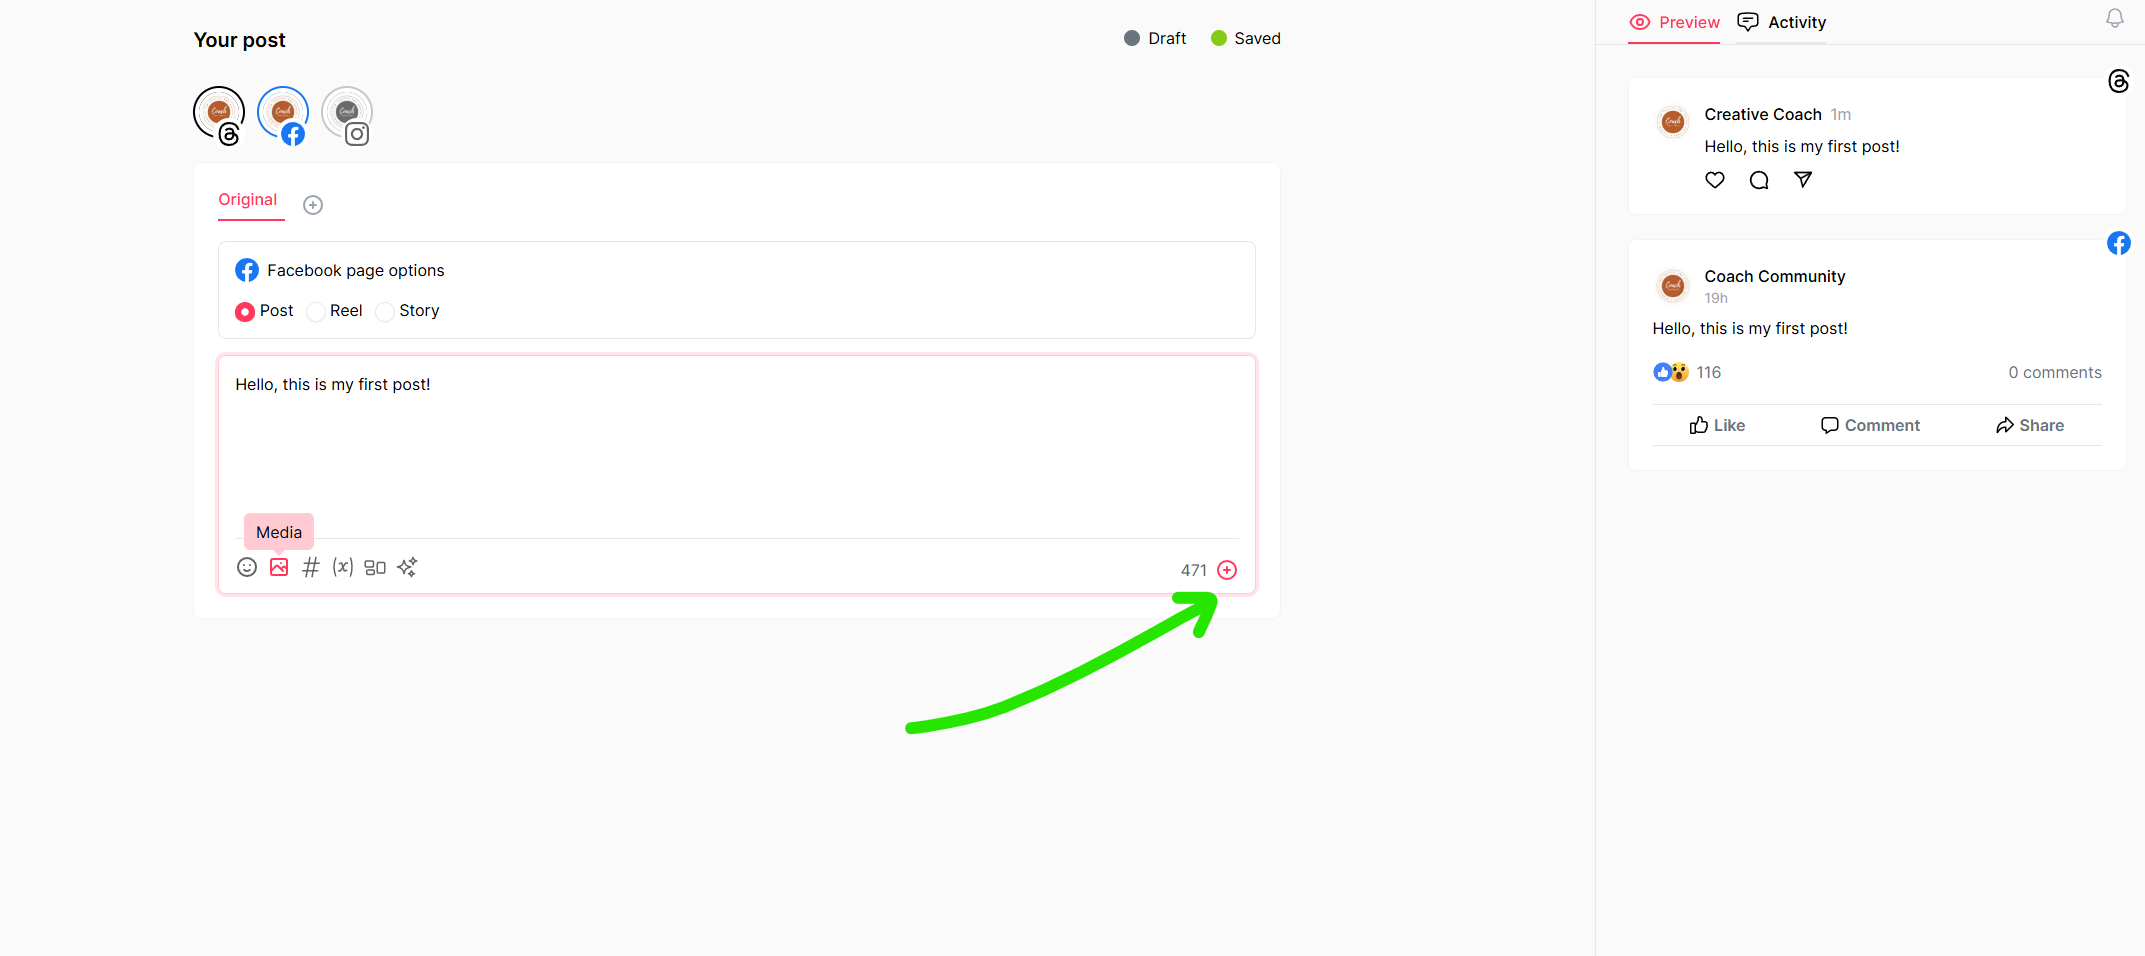
- Click the ➕ icon next to the character count at the bottom of the editor.
- Type your comment and save it.
✅ Why add a first comment?
- Pin important updates or links.
- Enhance engagement by adding hashtags or questions.
Step 8: Choose Your Posting Option
PaddyPost offers flexible scheduling options:
- Post Now – Immediately publishes your post.
- Add to Queue – Adds the post to your scheduled queue for automatic posting at the next available time slot.
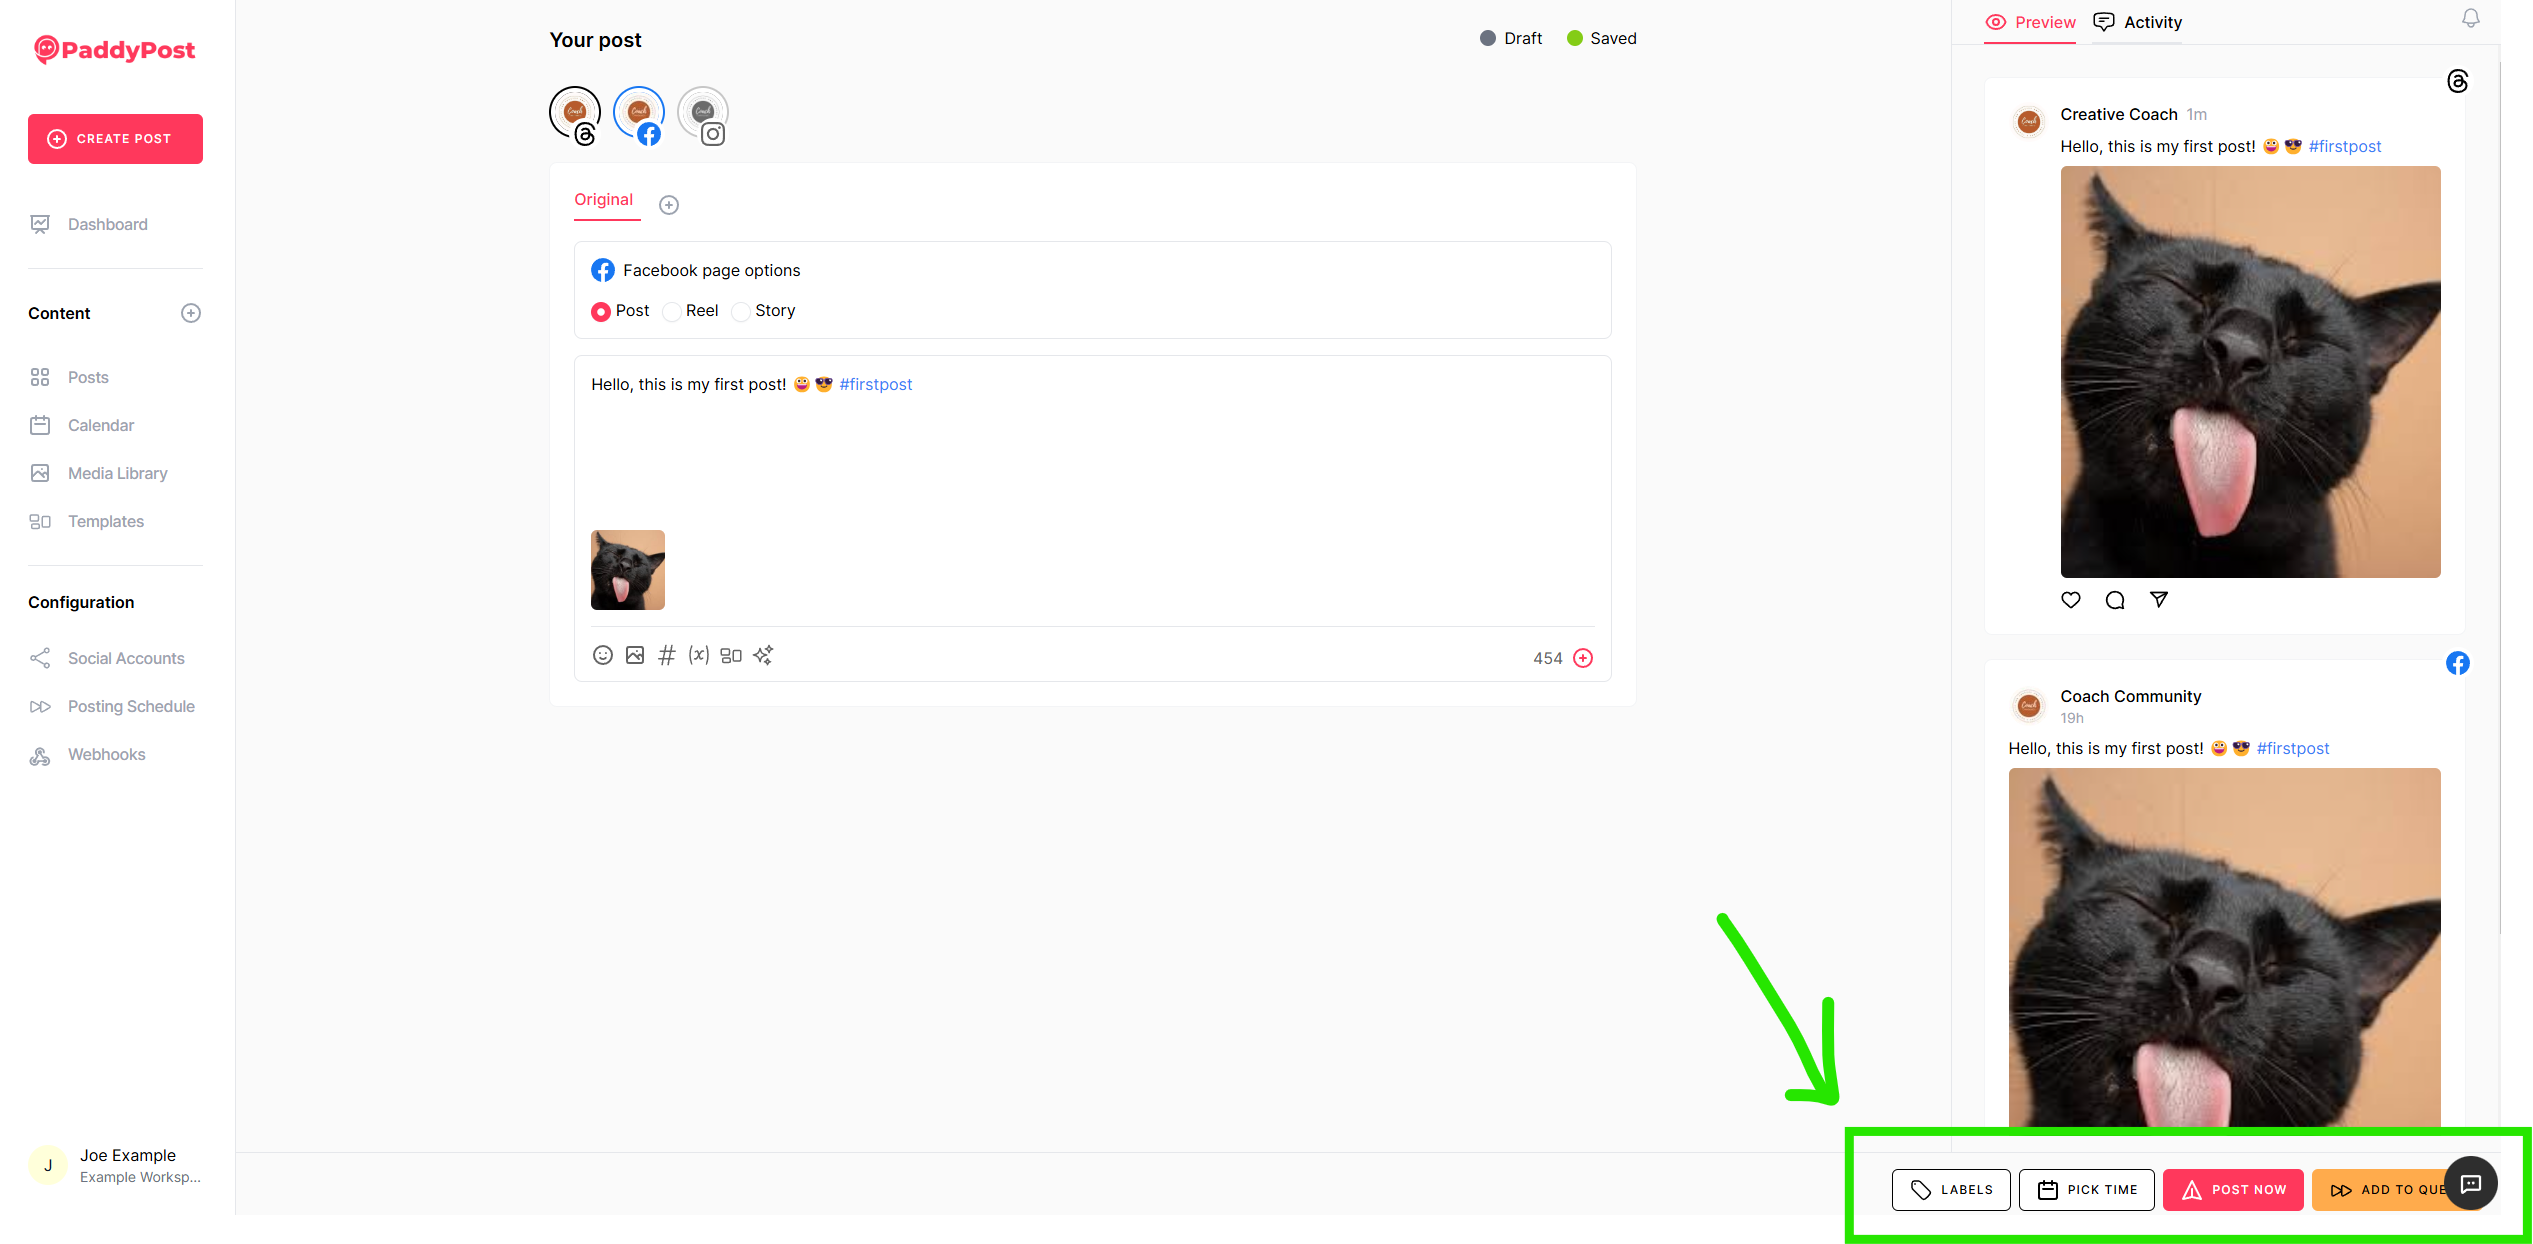
✅ Pro Tip: Set up a Posting Schedule in the Schedule section to automate content distribution.
Post Previews
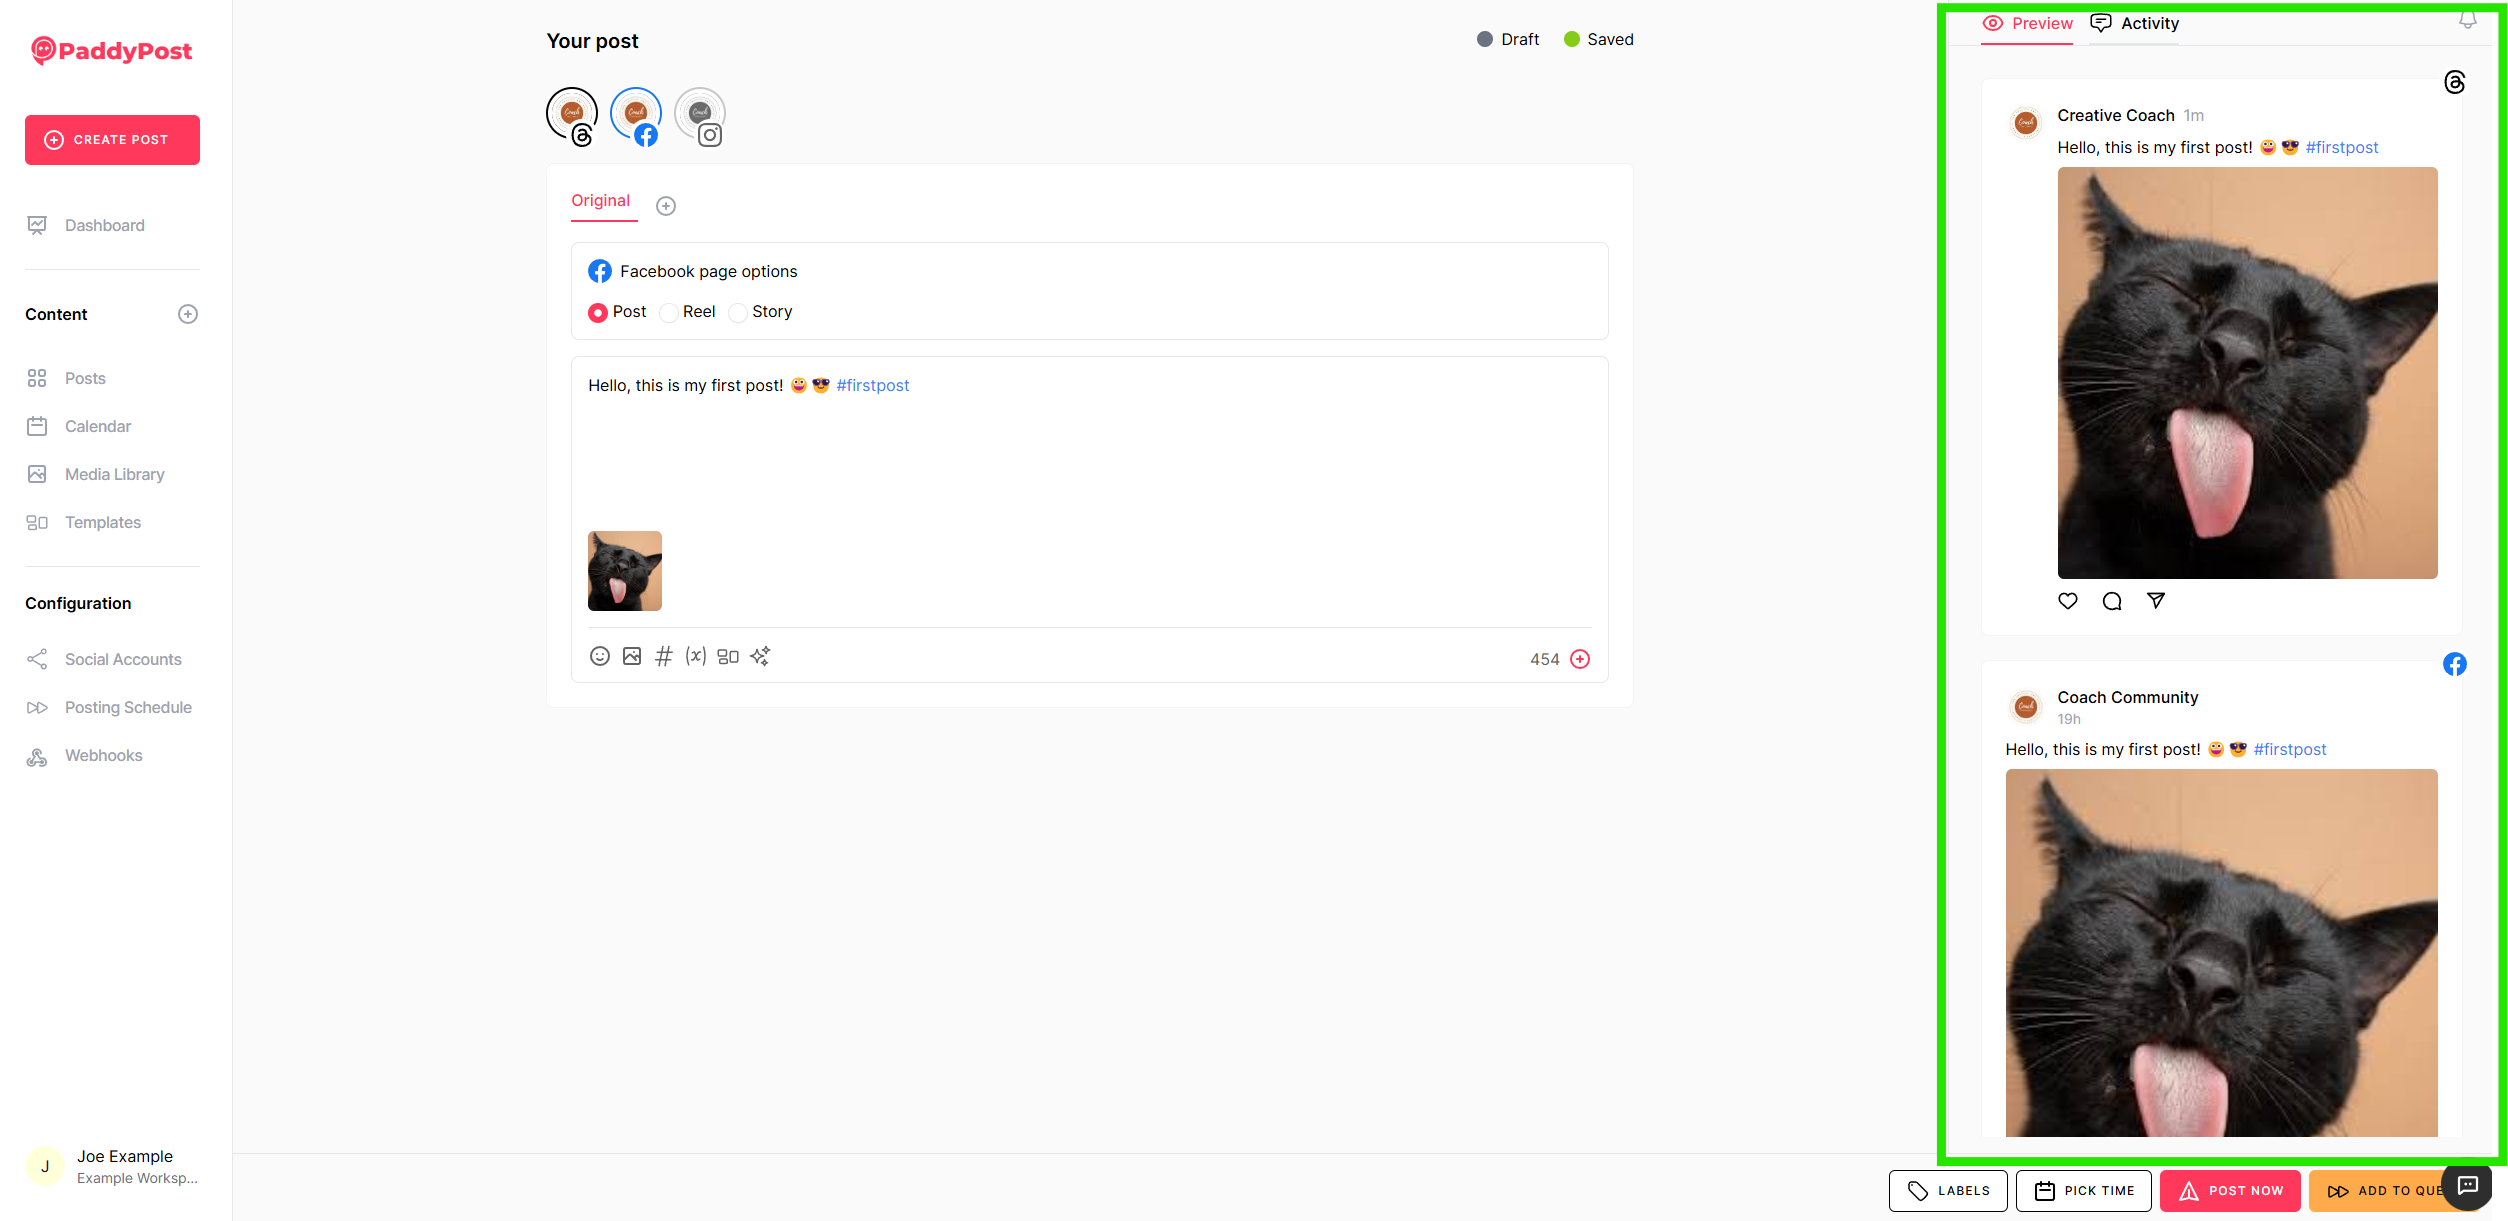
When creating your posts, you will see previews for all your selected platforms on the right. This helps you see exactly what your post will look like on each platform.
You will also see an option to view activity, which is where you will find messages from your team related to post approval and collaboration.
Conclusion
With PaddyPost, creating and scheduling posts across multiple platforms is seamless. By following this guide, you can:
🚀 Connect and manage multiple social accounts.✍ Create tailored content for different platforms.📅 Schedule posts efficiently to maintain consistency.
Start posting today and optimize your social media strategy with PaddyPost! 🎉